


At TypingMind, we continuously seek ways to provide you, our valued users, with increased flexibility and customization options. And that’s where custom models in Typing Mind come into play.
Requirements to use the Custom Models
There are some requirements you will need to look at for a seamless and easier setup:
- The model must be served via an OpenAI-compatible API endpoint.
- You must have some relevant technical skills to setup a custom model on your own server/endpoint.
Instruction to setup Typing Mind with a popular local AI setup using the open-source project LocalAI.
Setup LocalAI on your device
👉
If you already have another setup for the local AI model endpoint, you can skip this step.
Go to https://github.com/go-skynet/LocalAI and follow their instruction to run a model on your device.
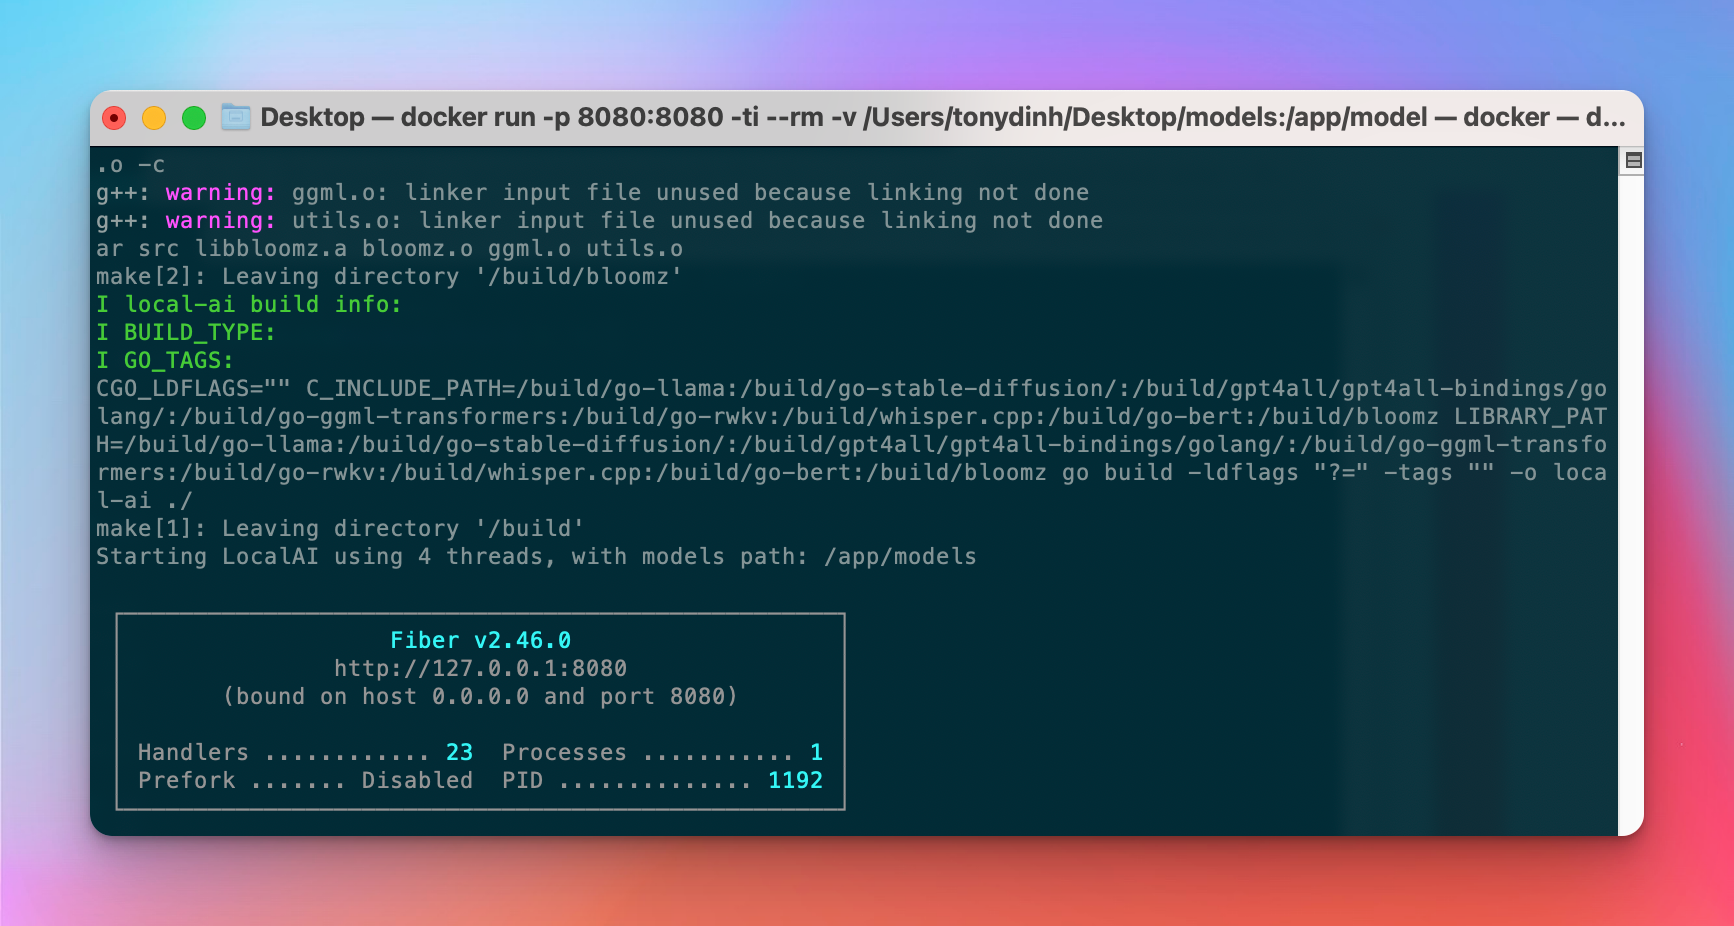
For example, here is the command to setup LocalAI with Docker:
docker run -p 8080:8080 -ti --rm -v /Users/tonydinh/Desktop/models:/app/models quay.io/go-skynet/local-ai:latest --models-path /app/models --context-size 700 --threads 4 --cors true
Note: update the path “/Users/tonydinh/Desktop/models” to match with your device setup.
Note that we added the
--cors trueparameter to the command to make sure the local server is accessible from the browser. Typing Mind will send requests to the local model directly from the browser.
If you’re doing it correctly, you should see a message like this:
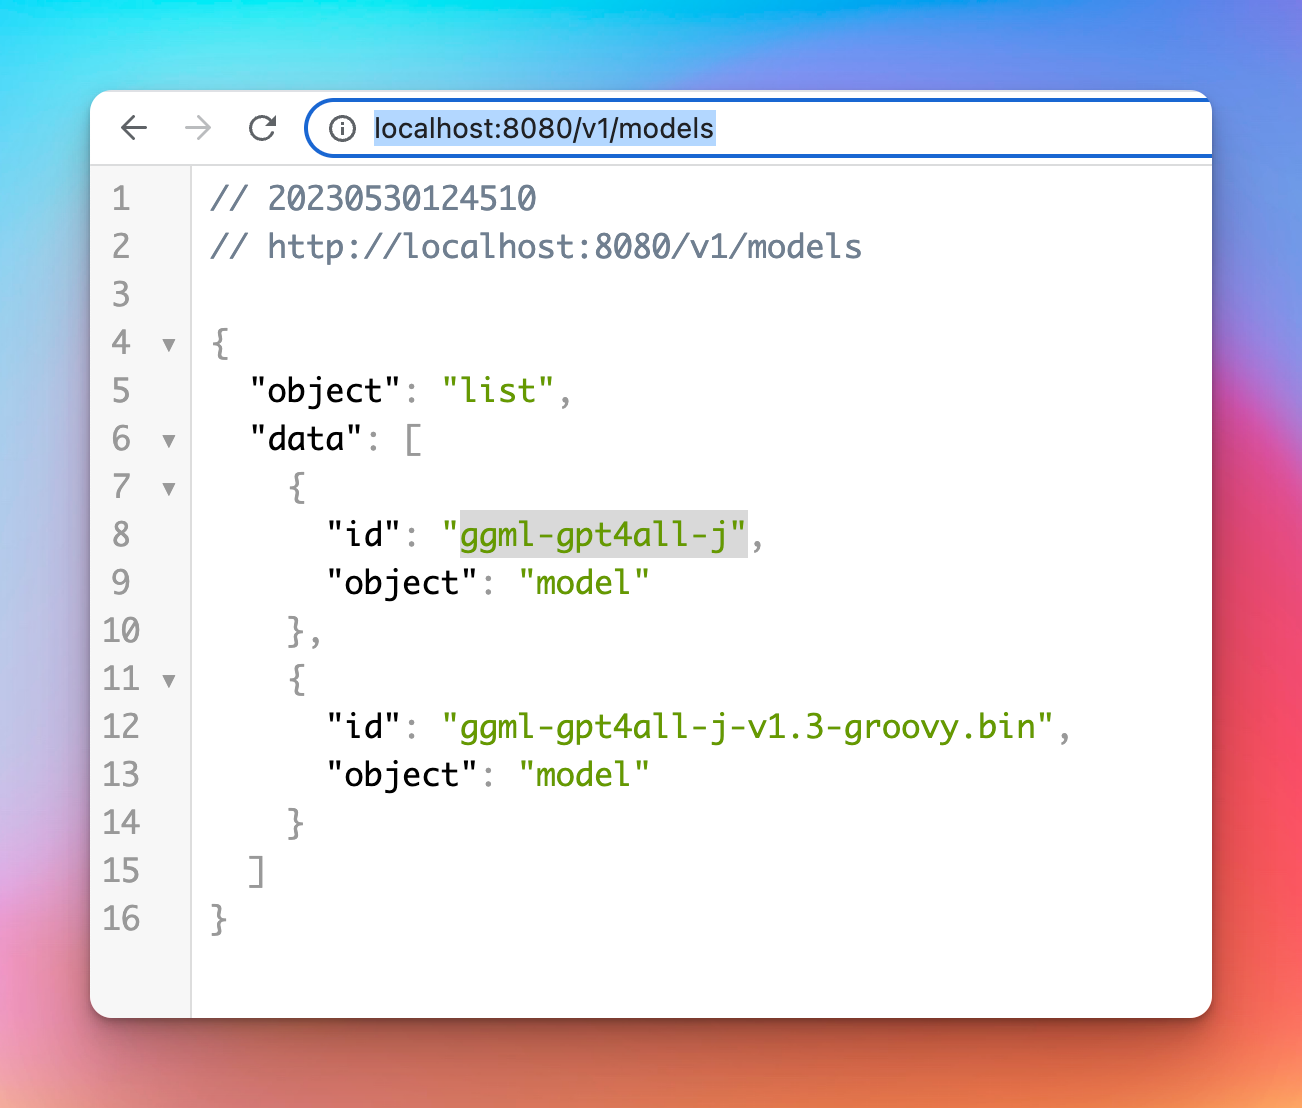
Now you can go to http://localhost:8080/v1/models and confirm that the model is ready:
Setup Custom Model on Typing Mind
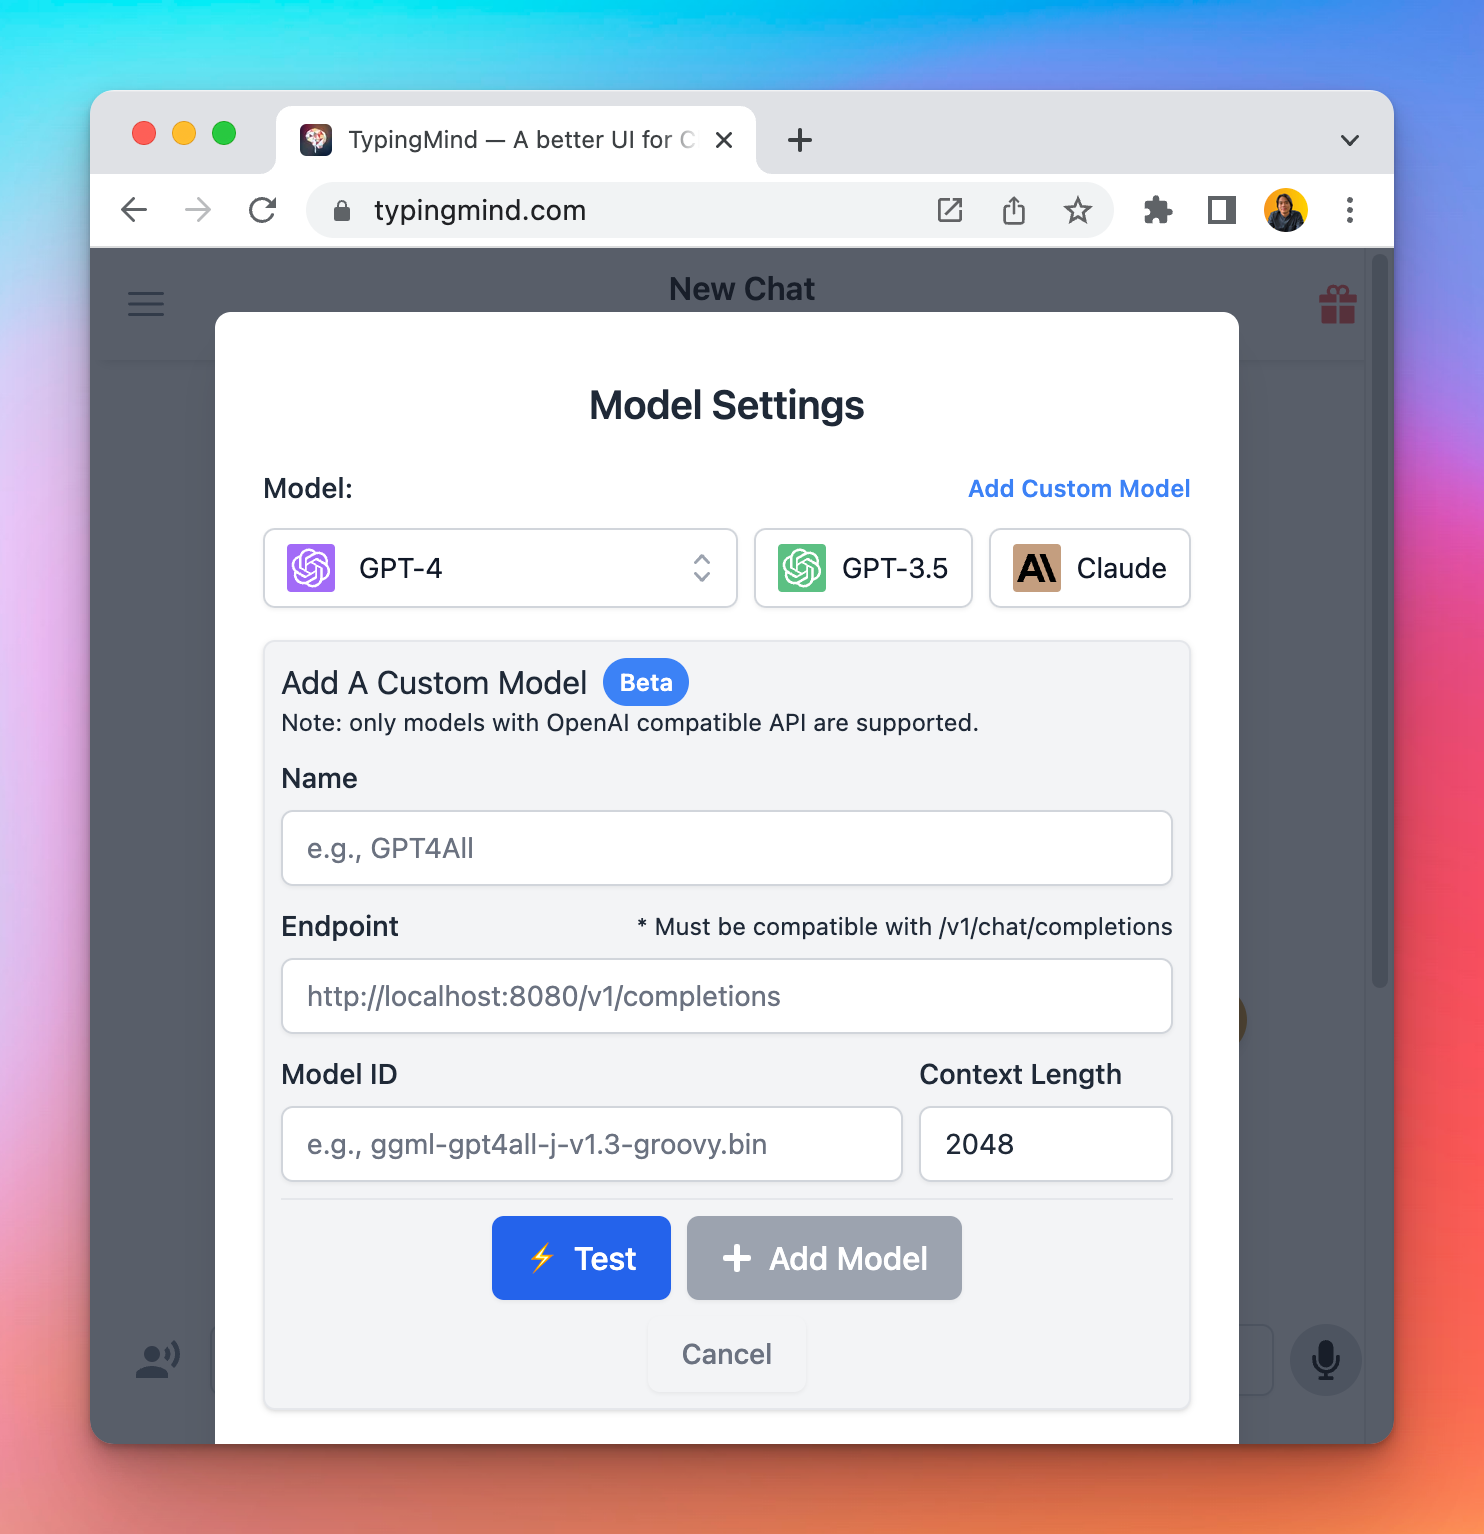
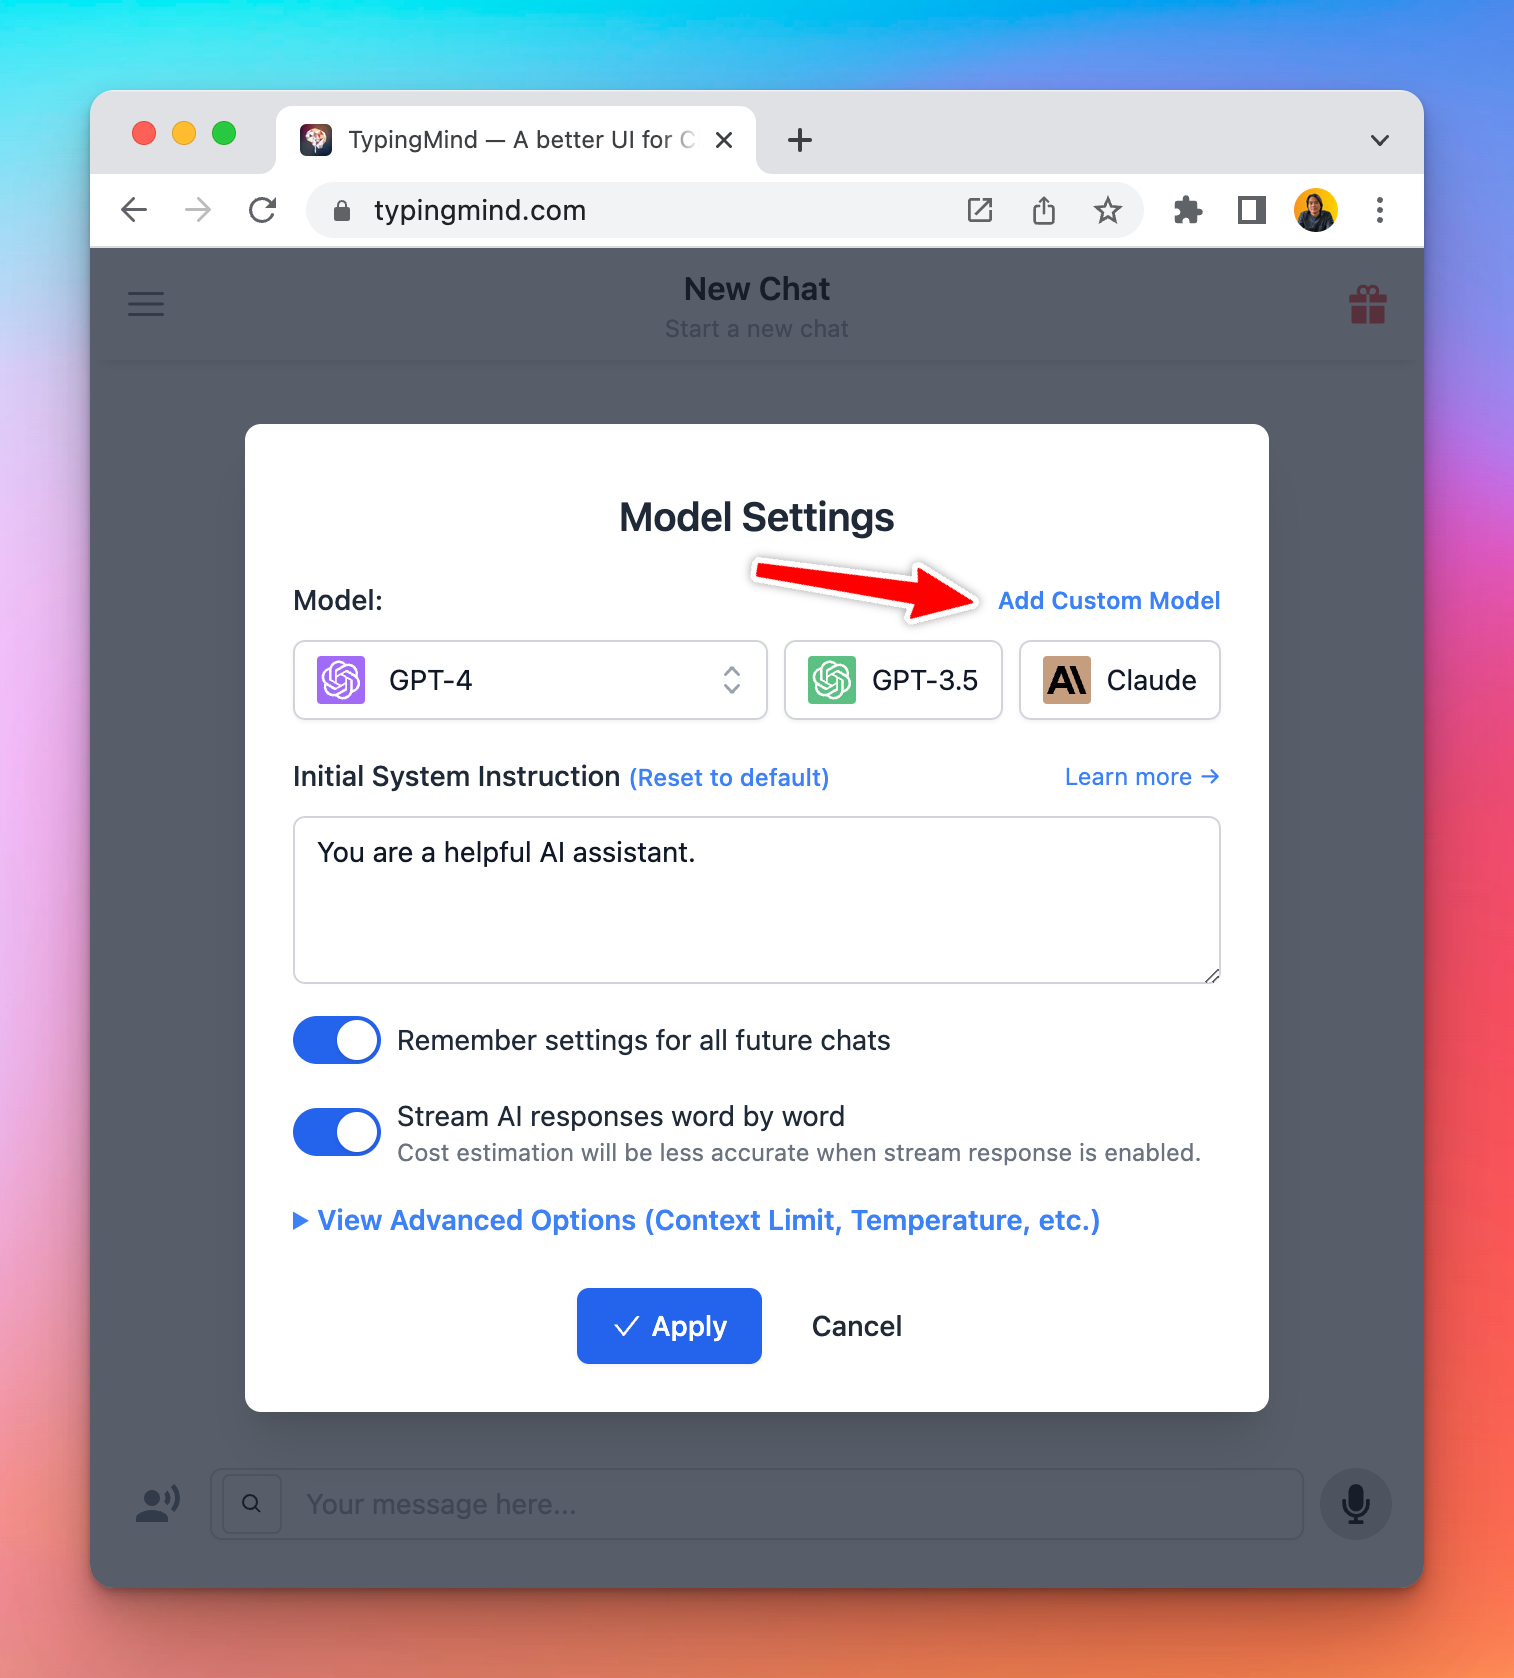
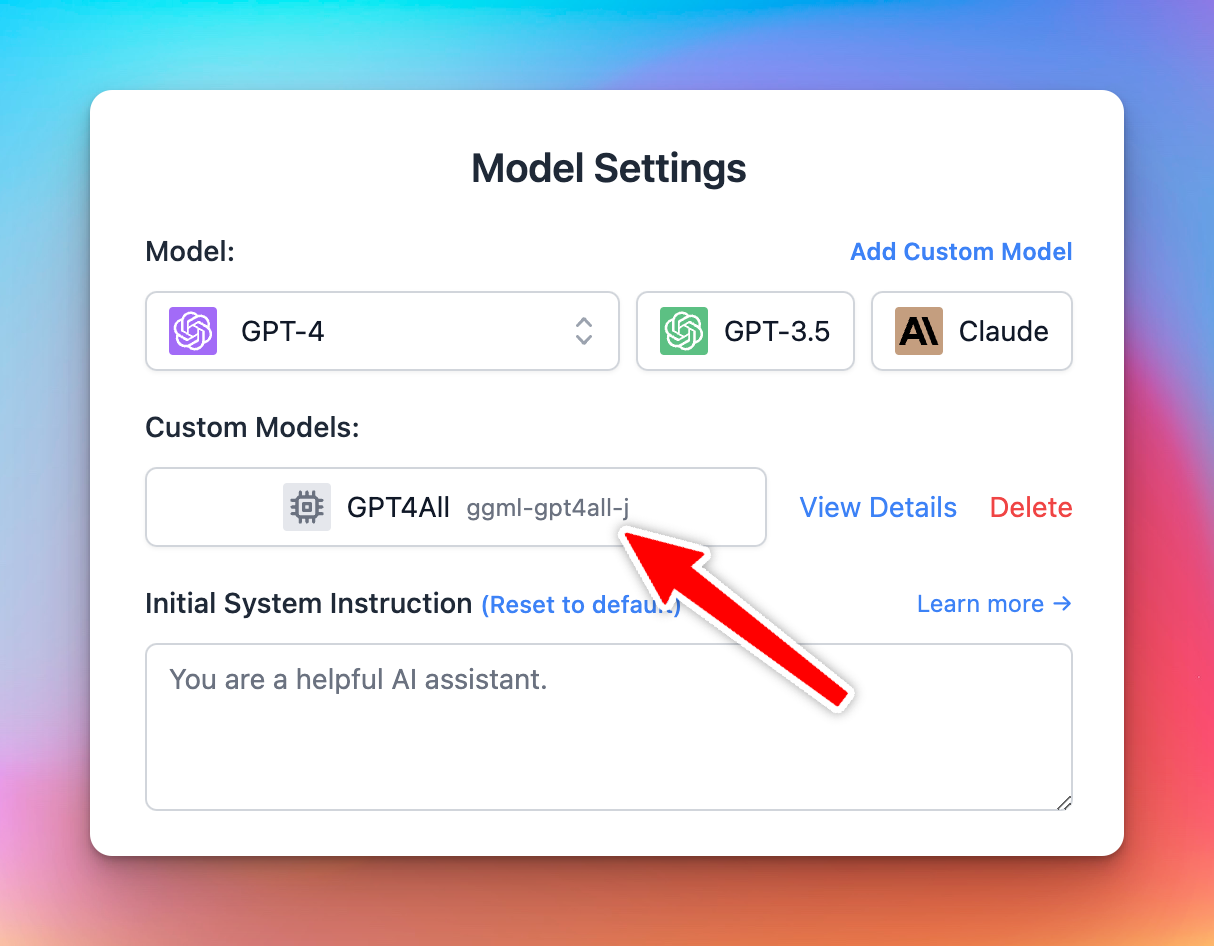
Open Typing Mind and open the Model Setting button, then click “Add Custom Model”.
Enter all the details, then click “Test” to check if your custom model is working correctly.

Popular problems at this step
| Issue | Resolution |
| CORS related issues | Make sure your server configuration allows the endpoint to be accessible from the browser. Open the Network tab in the browser console to see more details. |
| Long waiting time | In the first request, your model can take a long time to respond. Check the terminal log of the Docker process to see if anything goes wrong. |
| API Key Missing | Typing Mind does not support API key authentication for custom model yet. Please reconfigurate your custom model to remove API key requirement. |
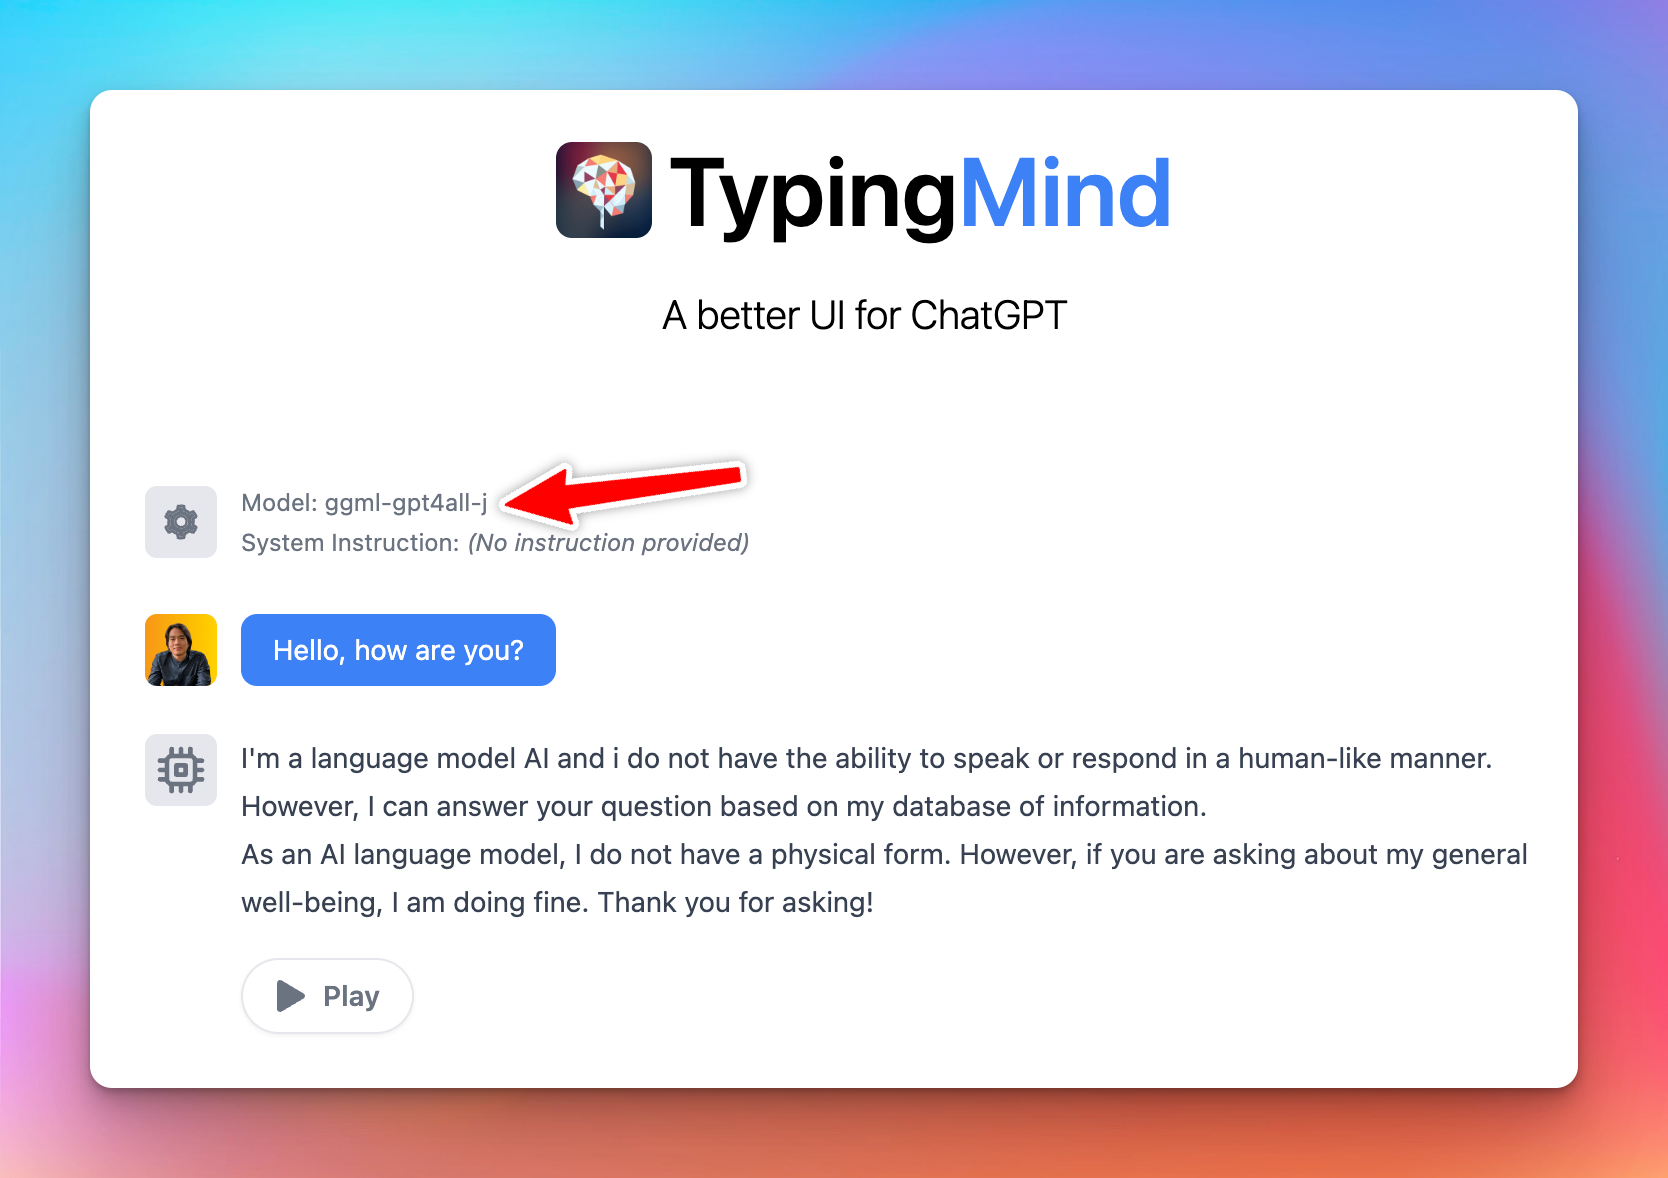
Done! Now you can chat with the new Custom Model
Once the model is tested and added successfully, you can select the custom model and chat with it normally.
That’s a wrap!
Hope this guidelines will make it easier for you to set up your Custom Models on TypingMind. Enjoy the customized experience on TypingMing that can work seamlessly with your business!
If you’re using Azure OpenAI, check out How to set up Azure OpenAI on TypingMind.


